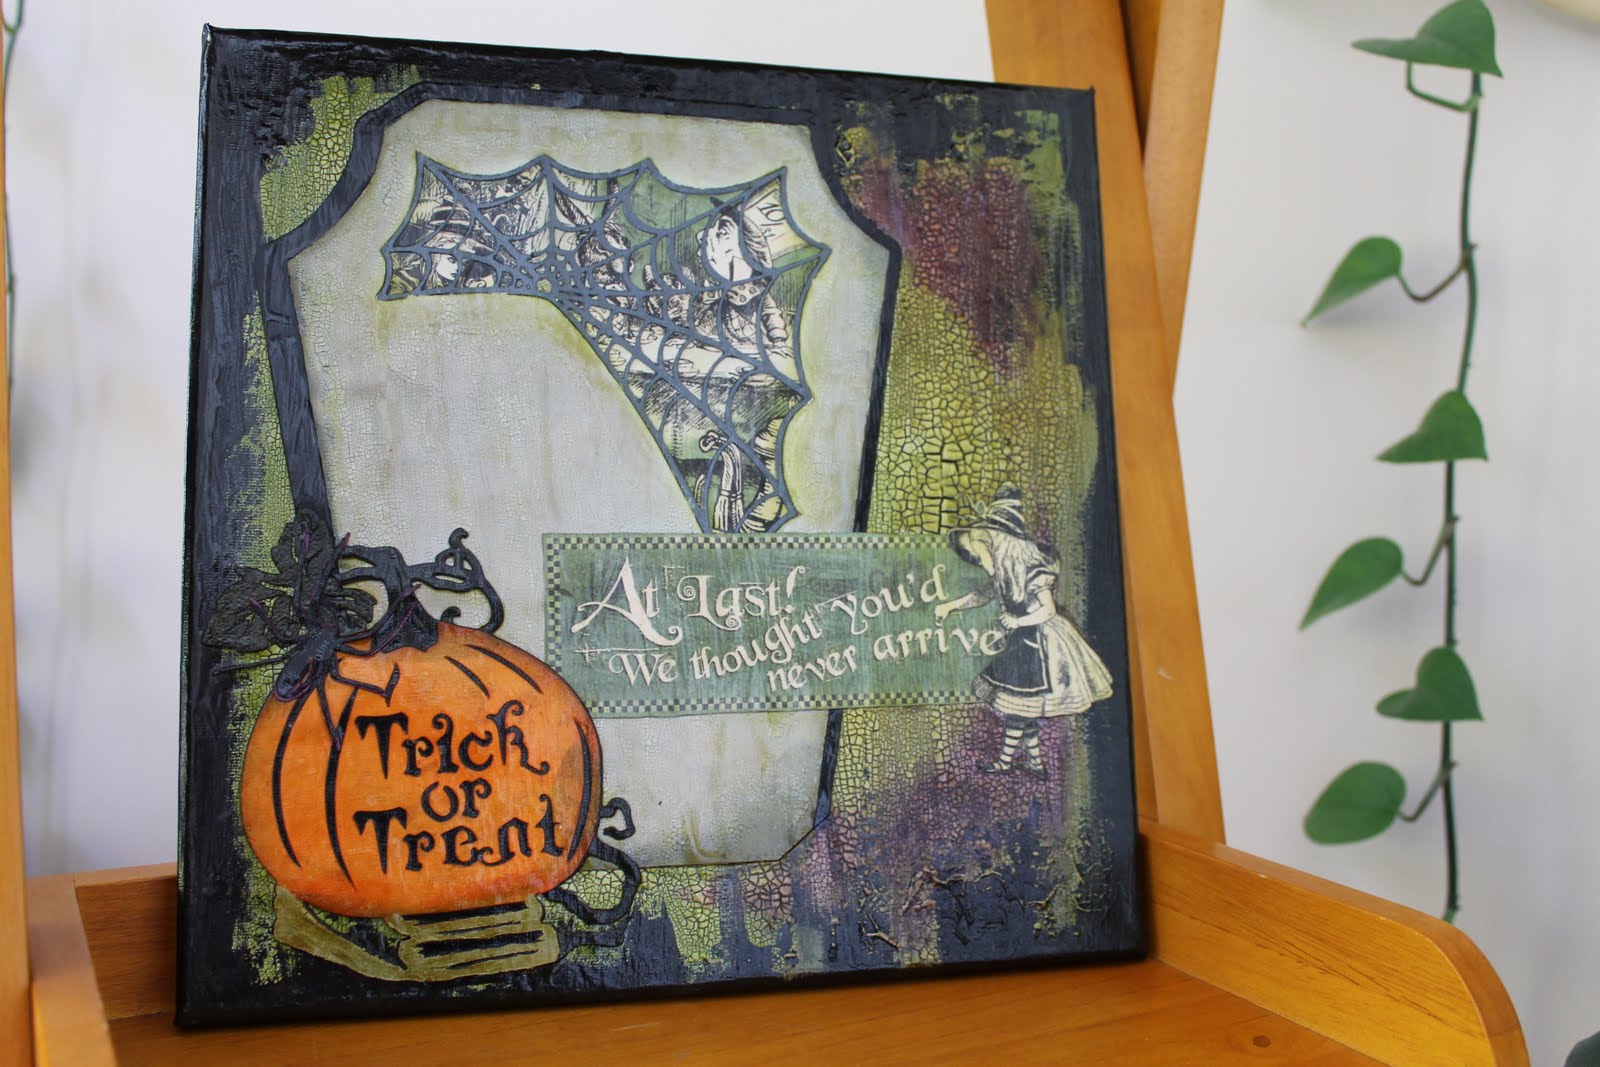
Hello Everyone! I have been wanting to create some wall art using a canvas and my Cricut for ages and finally found the time. Inspired by The Cricut Circle Blog and a Sister Cricut Circle member who loves Halloween, Miss Becky. I'm lovin' how this project turned out and I hope you will too!!


I started with a 12 x 12 pre-framed canvas which I painted Shimmer black. The paint was applied in one directional strokes. After the paint was dry I painted areas of the canvas with Tim Holtz's crackle paint, Shabby Shutters. After the Crackle paint started to crack, I hit it with my heat gun to speed the drying process. I then inked the Crackle paint area with Tim Holtz's Distress Inks. This was to be the base for my Cricut cuts.
After choosing two images from my Cricut Cart collection , a pumpkin and a gravestone I decided to switch things up a bit. I love using my Gypsy to alter the original Cricut cuts!
For the 5" pumpkin I used hide contour on my Gypsy to hide the window and some of the ribs on the pumpkin image from Nursery Tales. In their place I put Trick or Treat from the cart. I cut this layer in orange. I fussy cut out the stock, vines, leaves and stairs. The next layer I used black cardstock and hand cut out the leaf and stairs. I cut the third layer in grey cardstock, I inked the leaf with Shabby Shutters Distress ink and used Crackle paint on the stairs which I inked later to show the cracks . For the final pumpkin layer I chose black cardstock and handcut out only the leaf.
Being inspired by one of Cricut Circle blog challenges of late I knew I wanted a window in the gravestone. The gravestone is cut at ". I decided on a spider-web window. Using my Gypsy I placed a " spider web in the top-center of the gravestone. I cut this image twice, one in light grey cardstock and the other in dark cardstock. I removed the spider-web from the light grey gravestone and cracke-painted the gravestone using Pumice Stone Crackle paint. After the paint was dry I inked the paint using Distress inks. I took out the spider-web from the dark grey cardstock and glimmer misted the web. For the image in the window I used Graphis 45's spooky Alice in Wonderland. I hand cut the tea party image out to fit the window behind the spider-web and glues it in place.I used black card-stock for the base of the gravestone, and off-set the light grey windowed piece on top.
For the phrase I chose another part of the spooky Graphic 45 paper. I cut apart the title and knocking Alice to reposition her to better fit on my canvas. I inked the edges of these cuts using Tim Holtz's Black Soot Distress ink.
I used Mod Podge to adhere the pieces to the canvas. Then came the really scary part for me, I wanted to seal my work to protect it but I did not want to ruin all my hard work!! Well I took the plunge and put Matte Mod Podge over the whole canvas. I used a large artist's brush and was careful to only stroke over each area once as I did not want the water-based Mod-podge to move the water-based ink. The Mod Podge took on a green hue in some areas as I was applying it. I was very anxious during the drying process but it turned out great!!
Thanks for looking and have a Spooktacular October!!




 The hidden post-it notes.